For the average homeowner, repairing or remodeling their home can seem like a daunting task. But it doesn’t have to be! If you’re handy and patient, there are a few repairs that you can do yourself with relative ease. In this blog post, we will outline six of the most common house repairs and give you some practical tips on how to complete them. So whether you’re fixing a leaky faucet or putting in a new floor, we’ve got you covered!

1. Fixing a Leaky Faucet
The first course of action is to locate where the leak is stemming from. Is it the handle, the spout, or another area? Once you know its source, you can start fixing it. For a leaky handle, you will need to replace the O-ring or washer. For a leaky spout, you may need to replace the washer or O-ring, or you may need to tighten the packing nut.
If you’re not sure how to fix your specific issue, there are plenty of helpful videos and articles online that can walk you through the process step-by-step. And if you’re still not comfortable tackling the repair yourself, it’s always best to call in a professional.
2. Replacing a Toilet
If your toilet is constantly running or leaking, it’s time for a replacement. The first step is to turn off the water supply and flush the toilet to empty the tank. Then, remove the bolts that hold the tank to the bowl and lift it off the tank. Next, disconnect the water supply line from the fill valve and flush valve.
Now you’re ready to remove the bowl from the floor. Be careful, as it will be heavy! Once it’s loose, turn it over and remove the wax ring from the bottom. Now you can install your new wax ring and reattach the bowl to the floor. Finally, reattach the tank, turn on the water supply, and flush the toilet to test it. In case the toilet is still not flushing properly, you may need to adjust the water level in the tank. To do this, simply find the fill valve and turn the knob clockwise to raise the water level, or counterclockwise to lower it.
3. Roof issues
If you have any roof issues, it’s important to address them as soon as possible. First, take a close look at your roof and identify the problem areas. If you see any missing or damaged shingles, you will need to replace them. You should also check for any signs of leaks, such as water stains on your ceiling. Namely, the professionals from Los Angeles based roofing company, suggest for one: “look for any daylight coming through the roof boards.” If your roof is in good condition but you still have leaks, the issue may be with your gutters or flashing. Nevertheless, this type of repair is best left to a professional. Even if you’re comfortable climbing a ladder, roof repairs can be dangerous.
4. Unclogging a Drain
There are a few things you can try before calling a professional to unclog your drain. First, try using a plunger to see if that does the trick. If not, you can try using a drain snake or an auger. The key is to be patient and not force the issue, as this could damage your pipes.
If you’re still having trouble, there are a number of chemicals you can buy at the store that will help to break down whatever is clogging your drain. Just be sure to use them according to the instructions on the package, as some of these chemicals can be dangerous if used improperly. For a natural alternative, you can try pouring a pot of boiling water down the drain. If all else fails, it’s time to call in a professional. They will have the tools and expertise to quickly and safely clear your clogged drain.
5. Replacing a Light Fixture
If you need to replace a light fixture, the first step is to turn off the power to the circuit that the fixture is on. Once the power is off, you can remove the old fixture. Be sure to take note of how it was wired so that you can wire the new one in the same way.
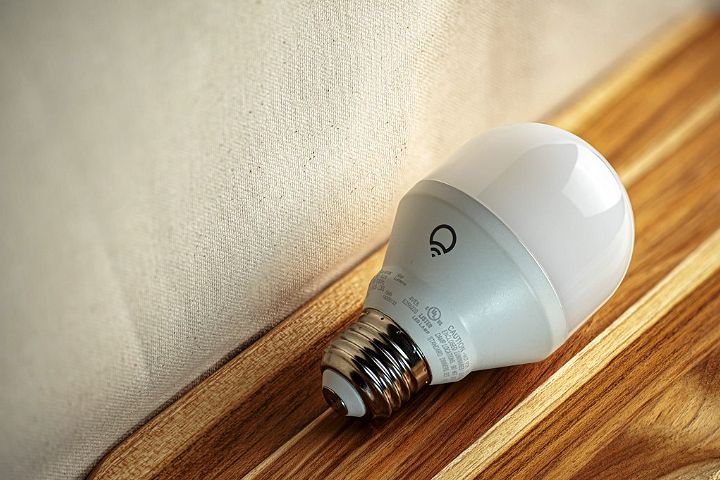
Now you’re ready to install the new fixture. Start by attaching the ground wire, and then move on to the live wires. Once all of the wires are attached, you can screw in the lightbulb and turn on the power to test it. If everything is working properly, you’re all set! Depending on the type of fixture you’re installing, you may need to attach it to a ceiling box or mount it directly to a wall. The long-term success of your repair will largely depend on how well you follow the instructions that come with the new fixture.

6. Fixing a Squeaky Floor
There are a few different ways to fix a squeaky floor. The first is to locate the source of the squeak and drive a screw through the subfloor and into the floor joist. You can also try driving screws into the floorboards themselves. Another option is to use caulk or wood glue to fill in any gaps between the floorboards.
Whichever method you choose, be sure to test it out by walking on the floor to see if the squeak is still there. If so, you may need to try a different method or call in a professional. Also, keep in mind that some squeaks are simply due to normal settling and are not indicative of a larger problem. In most cases, the best course of action with this issue would be to do nothing if the sound is not bothersome.
Nevertheless, by following these tips, you should be well on your way to tackling the most common household repairs on your own! Just remember to prepare ahead of time, take your time, and be careful. With a little effort and patience, you’ll be fixing everything yourself, with no need to call in the professionals!


