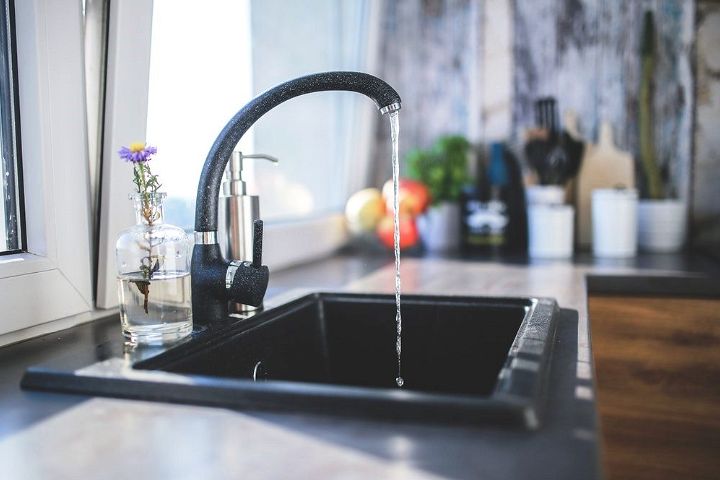
Installing an under sink water filter in your kitchen sink cabinet is your ticket out of foul-tasting water. An under sink water filter thoroughly removes the impurities and chemicals responsible for your water’s bad taste and smell. With this filter, you no longer have to spend money on plastic bottles or contribute to plastic waste.Installing an under sink water filter only takes a couple of hours, and it’s a very straightforward process. No prior plumbing experience is needed- we promise.Before starting the installation process, turn on the taps to relieve the pressure from the entire system and get a few towels ready because things might get messy.

Tools and Supplies You Need
You need to get all the necessary tools for your installation to succeed. At the minimum, you need Teflon tape, a utility knife, pliers, screwdrivers, tube cutters, and an adjustable wrench. However, a drill and a bit set would make your job easier, as most filter kits need to be attached to the wall. Finally, the most important thing you’ll need is the under sink water filter system (with cartridges).

Installing Your Under Sink Water Filter
Here are the steps to guide you through the installation process:
1. Cut/Turn Off the Cold Water Valve
First, you need to identify the water pipes under your sink. There most likely are two incoming lines for hot and cold water. More often than not, under sink filters are not compatible with hot water because it damages the filter. The best way to identify the hot water line is to perform a flow test. To do this, turn on the hot water faucet, feel the pipes under the sink, focus on the one that remains cold; that’s the cold water pipe. When you find it, turn off the water supply.Bonus tip: The cold water pipe is usually on the right, but double-check to be sure.
2. Open the Faucet and Remove the Tubing
Open the faucet to release water from the line; the extra water is due to the pressure. Get a neat cloth to dry up all the excess water. Next, use a wrench to disconnect the nut holding the tube on the kitchen faucet and remove the tubing.
3. Install the Adapter
The adapter is used to supply water to both the existing faucet and your new filtration system. It is a copper T-piece, and it comes in different shapes and sizes.There are many ways to create a water-tight connection to avoid leakage. One way to do it is by wrapping Teflon tape around the threaded end; three to four layers would do. After that, fasten the nuts with a pair of pliers.Next, you place the adapter on the cold water pipe and use the wrench to fasten it in place. Be careful not to make it too tight. Afterwards, attach the plastic pipe with the filter to the shutoff valve.
4. Drill a Hole in the Sink
For some under sink systems, you need a dispenser (faucet) above the filter, and the standard size for holes is 35 mm. The type of countertop matters when drilling a hole; it could be marble, granite, or lamination. Drilling holes in a granite countertop might be tricky, but it’s doable. If there is already a drilled hole, there’s no need to make a new one.Other under sink water filters don’t need an extra faucet. Their inline design allows you to use the existing one.There are many types of under sink water filters. You can make your choice based on your specific needs and the degree of the contaminants in your water supply (city water versus well water). You can find more info here on under sink water filters here: https://www.best-osmosis-systems.com/under-sink-water-filter-for-well-water-reviews/
5. Attach the New Faucet
You will need an assistant for this step. Your assistant will hold the faucet above the sink while you remain underneath to tighten the nut.A predrilled hole may be oversized, but you can add a little putty on the gasket to fill up the space. As your assistant holds the faucet, attach the nut to the plastic pipe and fasten it to the faucet above with a wrench.Try to twist the faucet to see if it’s snug and tight enough.
6. Mount the Under Sink Water Filter
Place the filter filled with cartridges under the sink and mount; use the drill and bits for this. The water filter should be mounted close to the cold water supply for optimum pressure.
7. Connect the Pipes
This is another critical step. You need to pay attention to the inlet of cold water fed into the filter and the outlet. If the plastic pipe is too long, adjust it with a tube cutter.
8. Turn on the Cold Water Valve
Once the plumbing is done, turn the cold water back on. Allow water to run through the water filter. The first water from your faucet will be cloudy. There may be a lot of air bubbles. It’s best to wait a few minutes before drinking the water.
9. Inspect the Connections
Check for leaks, ensuring that all connections are nicely made, and that all the seals are fine. If there are leaks, find out where they’re coming from and seal them up. A kitchen is very delicate, and you don’t want to slip while cooking, or have to come back and redo the installation. Try leaving the water turned on with increased pressure so you can tell if anything is wrong. Check the faucet to see if it wriggles off the sink.
10. Cleaning Up
The last things to do after you’re done are clean up your workspace and give your work one final examination. If you followed all the steps properly, you’ll be getting clean drinkable water right from your kitchen tap in no time.


