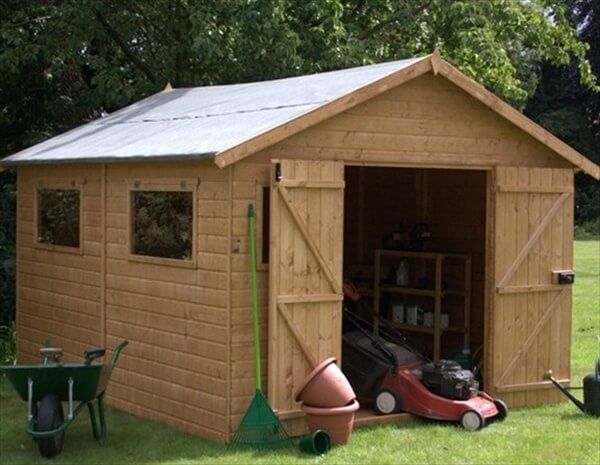
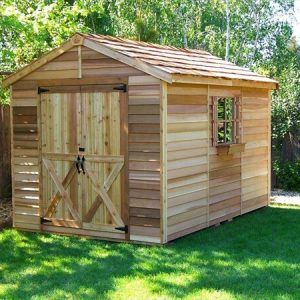
Being the most cost effective and easy to craft, the wooden pallets have eased the way of creating a basic wooden shed by careful planning and little effort. All you need is some hardware fixtures, electric saw, hammer and a little grease.
Your personal requirement of the look and size of shed will determine the selection of pallets accordingly. The carefully chosen pallets can be shaped into any sequence to provide usable and functional shed for keeping equipment or kid’s toys.
Here is step by step procedure for building a unique wooden pallet shed:
1 – Measurement:
The pallets are the basic building unit therefore requires proper measurement in terms of width, height, and length. The measurements must be written down which will help in initial sketch of the shape and size of shed. The length and height is multiplied to judge the total size of each side.
2 – Level Out:
The first row is leveled out on cement block to create a base and the walls of the wooden shed are built from pallets in good condition. The fixtures and nails are used to connect these pallets after making the holes with a power drill.
3 – Connect and Seal:
The slanted roof frame is made from wooden beams with one side longer than other. The roof cover can be made from fiber glass or metallic sheet after connecting the panels and sealing the leaks. The exterior walls are installed with plywood sliding using drill and screws.
4 – Final Touch:
A water proof exterior paint will keep the wooden shed secure and durable from water and sunlight over time.


